- Identify >
- Download >
- Install
Select a different product type:
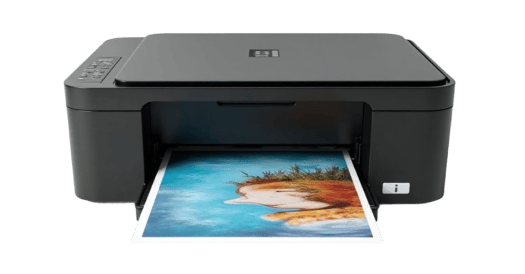
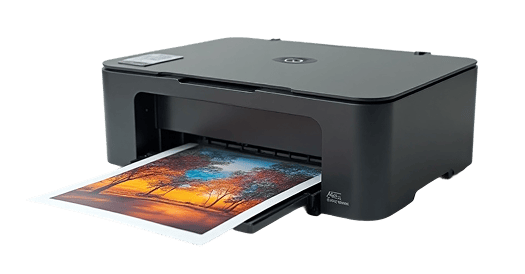
Easy Printer Setup
Get your printer ready in minutes.
Our complete 123 easy printer setup & install guide helps you install drivers, set up Wi-Fi, and resolve offline issues faster.
Printer Setup
& Install
Fix Printer Offline Issues
Fix Wi-Fi & Driver Problems
Update Your Printer Driver
Fix Scanner
Malfunctions
Fix Paper Jam
Errors
Quick & Easy 123 Printer Setup & Install Guide
Get your printer ready in minutes with our easy-to-follow instructions. Whether setting up a new device or reconnecting an existing one, this guide will help you configure, connect, and test your printer with confidence.

Download the Latest Software
Get the newest drivers and printer software optimized for compatibility with your system.
Connect Your Printer
Establish a connection using a USB cable or set up wireless access through the printer’s Wi-Fi setup options.

Install the Printer Drivers
Proceed with the on-screen instructions to finalize the installation and complete the setup process.
Test the Printer
After installation, print a test page to verify that your printer is functioning correctly.
Step 1. Unbox Your Printer Carefully
Before you begin, ensure you have all components included in the box.
✔ What to do:
- Remove the printer from its packaging and place it on a flat, stable surface.
- Remove all protective tapes, foam, and plastic films from both the exterior and interior compartments.
- Check for included accessories:
- Power cable
- Ink or toner cartridges
- USB cable (if provided)
- Setup CD/manual
- Starter paper (for some models)
✔ Pro Tip:
Keep all packaging for at least 7 days—useful if you need to return or exchange the product.
Step 2. Install Ink or Toner Cartridges
Proper cartridge installation helps prevent printing errors.
✔ Steps:
- Lift the top cover or cartridge access door as instructed for your specific model.
- Wait until the printhead carriage moves to the installation position.
- Remove packaging from cartridges, including protective seals.
- Insert cartridges firmly into their color-coded slots (e.g., Black, Cyan, Magenta, Yellow).
- Close the cover after installation.
✔ Pro Tip:
Do not touch the copper/gold contacts on cartridges—this can cause recognition issues.
Step 3. Load Paper Into the Input Tray
Use the correct type and size of paper for best results.
✔ Steps:
- Pull out the input tray or lift the rear feeder (depending on model).
- Adjust the paper guides to fit snugly but not tightly.
- Insert plain letter-size or A4 paper.
- Ensure the stack is clean, flat, and not bent.
✔ Pro Tip:
Fan the paper stack lightly before loading to prevent jams.
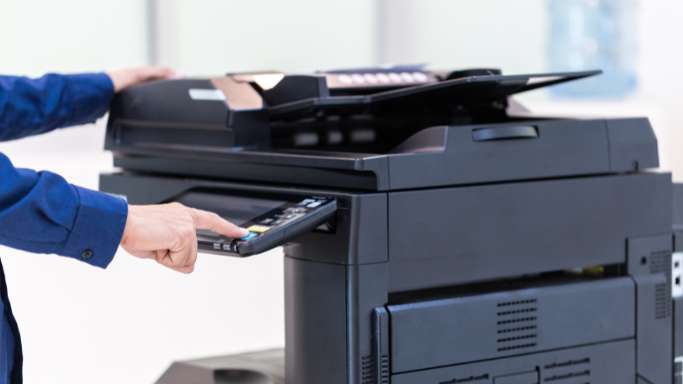
Step 4. Power On the Printer
✔ Steps:
- Plug the power cable into the printer and a grounded wall outlet.
- Press the Power button.
- Allow the printer to complete its initial startup and alignment process.
✔ Pro Tip:
Some printers may print an alignment page automatically—allow it to complete.
Step 5. Connect Your Printer (Wi-Fi, USB, or Ethernet)
A. Wireless (Wi-Fi) Connection
Most users prefer this option for mobile and network printing.
✔ Steps:
- On the printer’s touchscreen or control panel, navigate to:
Settings → Network → Wireless Setup Wizard - Select your Wi-Fi network name (SSID).
- Enter your Wi-Fi password carefully.
- Wait for the confirmation message: “Connected to Wi-Fi”
✔ Important Notes:
- Printer must be on the same Wi-Fi network as your computer or phone.
- Avoid using public or guest networks.
B. USB Connection (Wired Setup)
Ideal for single-computer usage.
✔ Steps:
- Connect the USB cable between the printer and your computer.
- Most operating systems automatically detect the printer and install required drivers.
C. Ethernet (Wired Network Setup)
Best for offices or shared printers.
✔ Steps:
- Connect the Ethernet cable from your router to the printer.
The printer will automatically obtain a network address.
Step 6. Install Printer Drivers and Software
Drivers ensure proper communication between your printer and computer.
✔ Option 1: Automatic Setup
Windows and macOS often install drivers automatically once the printer is connected.
✔ Option 2: Manual Setup (Recommended)
Visit the official support site of your printer brand and download:
- Printer driver
- Scanner utility (if available)
- Wireless setup assistant
- Firmware updates
✔ Pro Tip:
Always select the driver version that matches your operating system (Windows/macOS).
Step 7. Add the Printer to Your Computer
For Windows
- Go to Settings → Devices → Printers & Scanners
- Click Add a Printer or Scanner
- Select your printer from the list and follow the prompts
For Mac
- Go to System Settings → Printers & Scanners
- Click the + icon
- Choose your printer from nearby devices
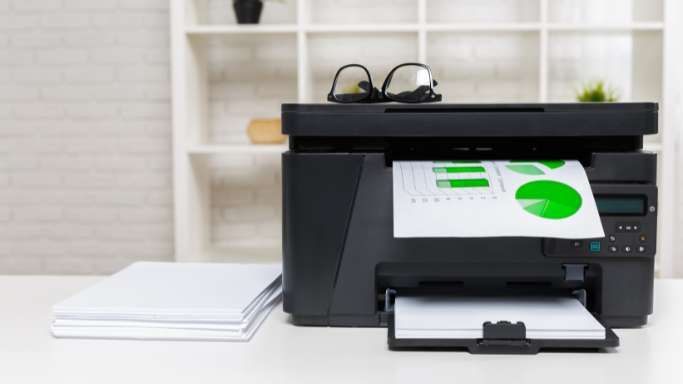
Step 8. Print a Test Page
A test print confirms that installation is successful.
✔ Steps:
- Open your printer settings menu
- Select Print Test Page
- Check for:
- Clear text
- Proper colors
- No streaks or smudges
✔ If something looks off:
- Reinstall the driver
- Clean printheads (inkjet)
- Shake toner (laser)
- Check paper alignment
Step 9. Optional: Set Up Mobile Printing
✔ On iPhone / iPad:
Use AirPrint (built-in).
Most modern printers support it automatically.
✔ On Android:
Use the brand’s mobile app for:
- HP Smart
- Canon PRINT
- Epson iPrint
- Brother iPrint&Scan
Mobile apps make it easy to:
- Print photos/documents
- Scan using the phone camera
- Check ink/toner levels
Step 10. Troubleshooting Common Setup Issues
✔ Wi-Fi not connecting?
- Restart printer and router
- Move printer closer to router
- Check Wi-Fi password
- Disable VPN temporarily
✔ Printer shows “offline”?
- Ensure it’s powered on and connected
- Set it as Default Printer
- Reinstall drivers
- Check USB cable (if wired)
✔ Print quality issues?
- Run printhead cleaning (inkjet)
- Replace low ink/toner
- Use high-quality paper
Still Need Help? Chat with a technician now.
If you’re still experiencing issues after following these steps, our certified support experts are here to assist you. Connect online for real-time troubleshooting, personalized guidance, and quick solutions to get your printer up and running smoothly.